Documentation
Workzen - Personal Portfolio CMS with Laravel & Vue.js
Thank you so much for purchasing our item from codecanyon.
- Version: 1.0
- Author: Stackwebify
- Created: 10 September, 2025
- Update: 10 September, 2025
If you have any questions that are beyond the scope of this help file, Please feel free to email via Item Support Page.
Basic Knowledge
To install, set up, and publish Shopking with your branding, it's necessary to possess fundamental knowledge in both server-side and mobile app development since the system comprises multiple features for web and mobile applications.
- IDE for Web development, we preferred PhpStorm and VSCode.
- Real server Server related knowledge like apache
- Server related knowledge and we preferred cPanel in your server for quick installation.
- Basic knowledge in PHP, Node, NPM, Vue and Laravel.
- basic knowledge about google cloud.
Server
Before install, please make sure you have the components bellow enable on your server
- PHP 8.2 or Greater
- MySQL 8.0 or Greater
- OpenSSL PHP Extension
- PDO PHP Extension
- Mbstring PHP Extension
- Tokenizer PHP Extension
- XML PHP Extension
- Exif PHP Extension
- Fileinfo PHP Extension
- Ctype PHP Extension
- JSON PHP Extension
- BCMath PHP Extension
- GD PHP Extension (or Imagick PHP Extension)
- PHP Zip Archive
- PHP JSON
- PHP cURL
- PHP Zip Archive
- Rewrite Module (Apache or Nginx)
- open_basedir must be disabled
Basically, these extensions are enabled by default on most servers, but it is recommended that you confirm with your hosting provider.
Active Purchase Key
Before install, please active your envato purchase key from our system and install project by our license key, follow below step by step.
- Go to Stackwebify official site stackwebify
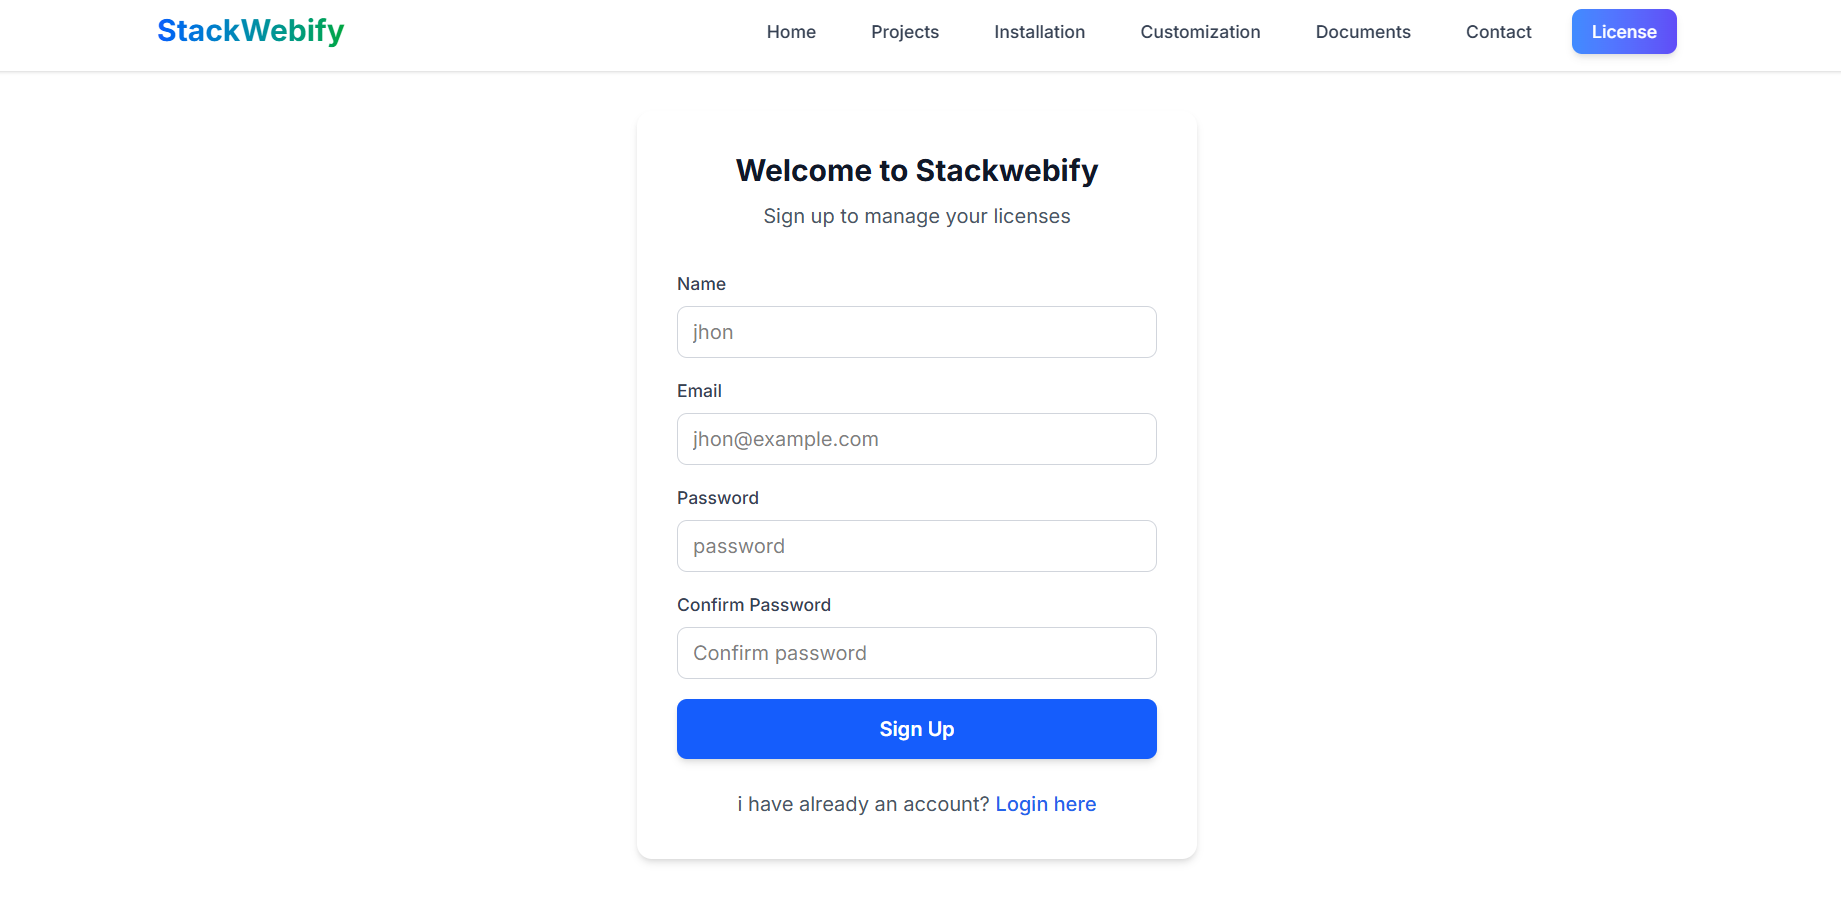
- Create an account in our site
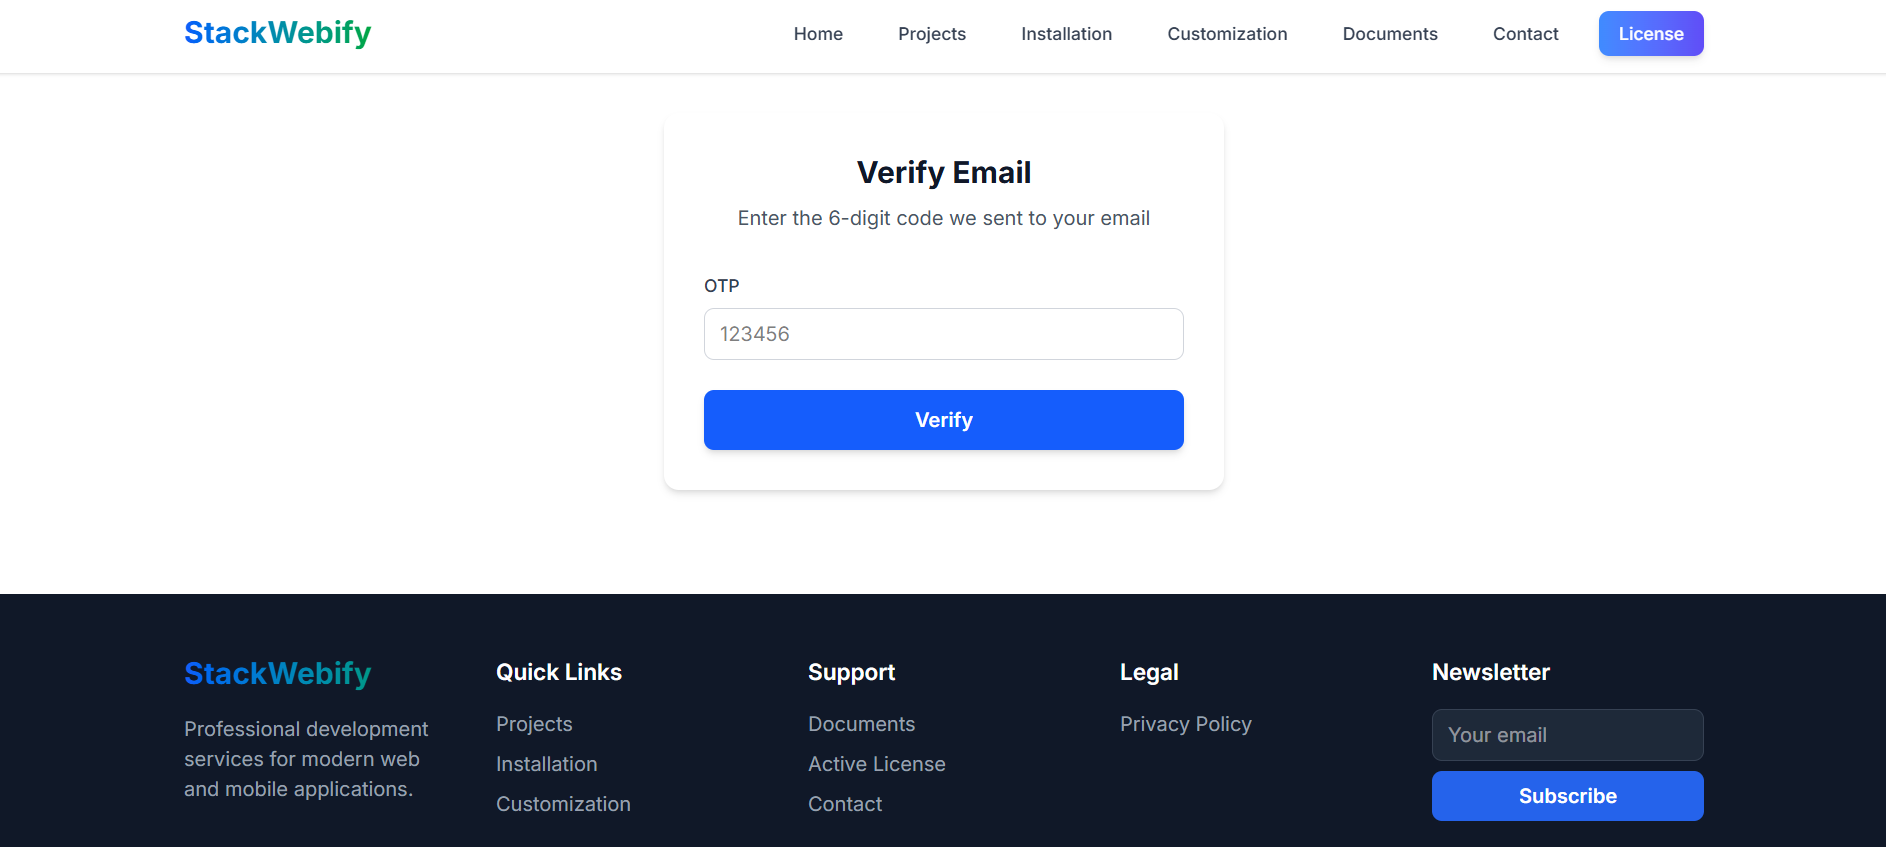
- Verify your email
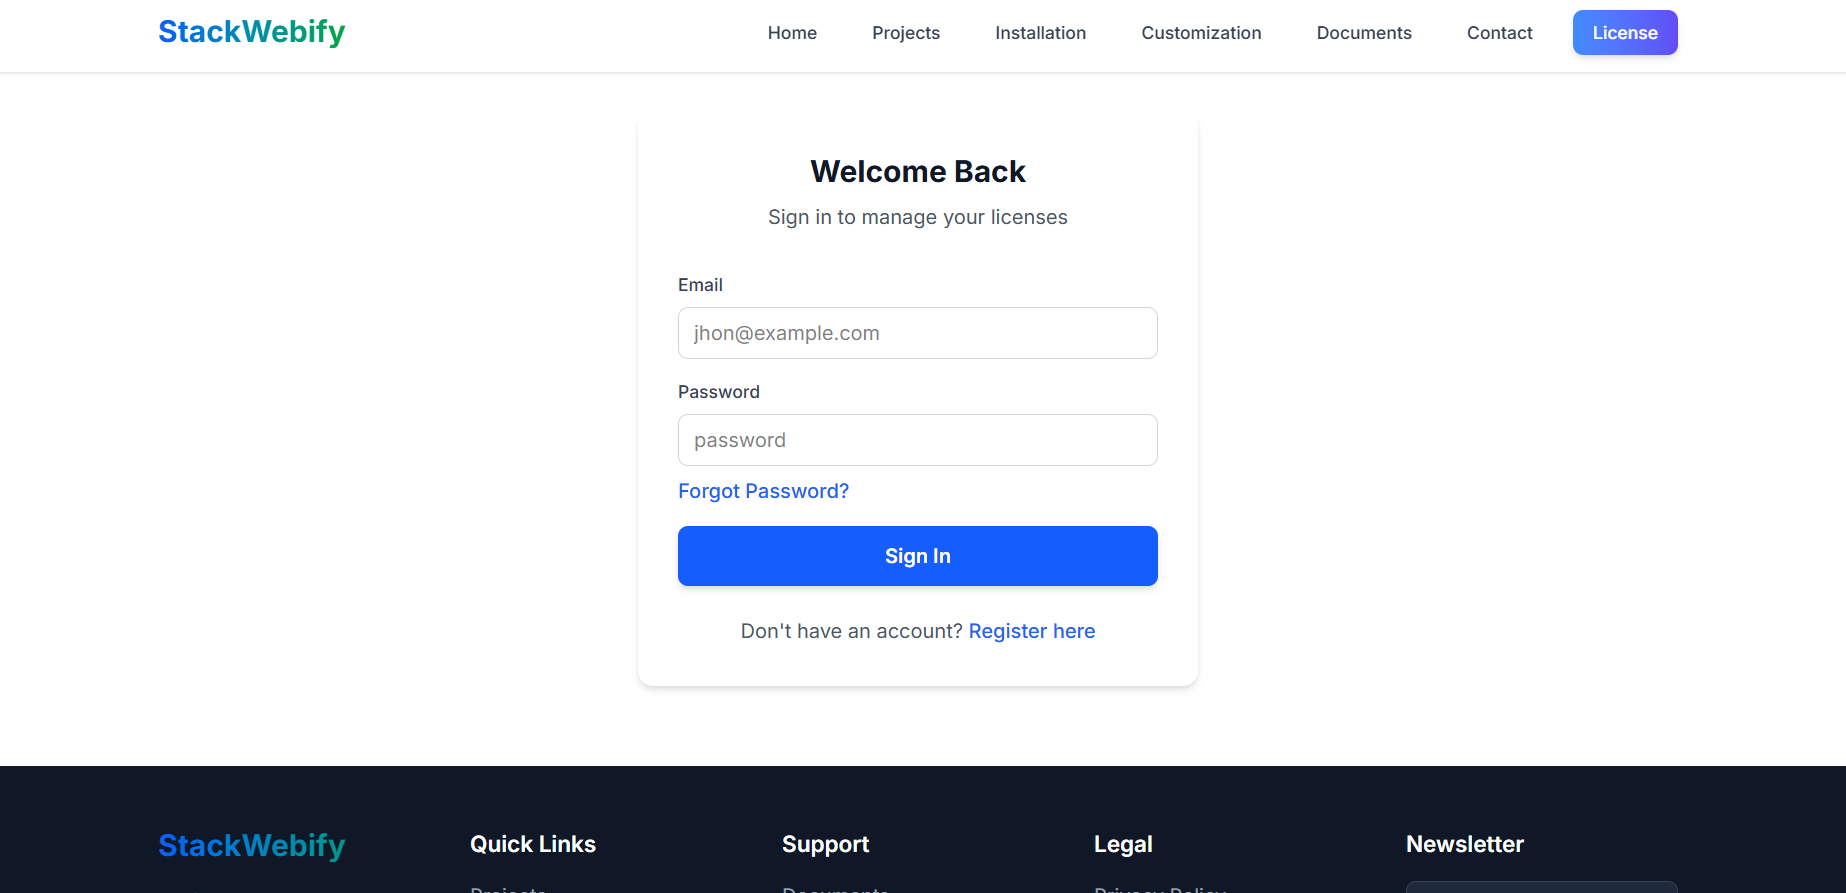
- Login your accout
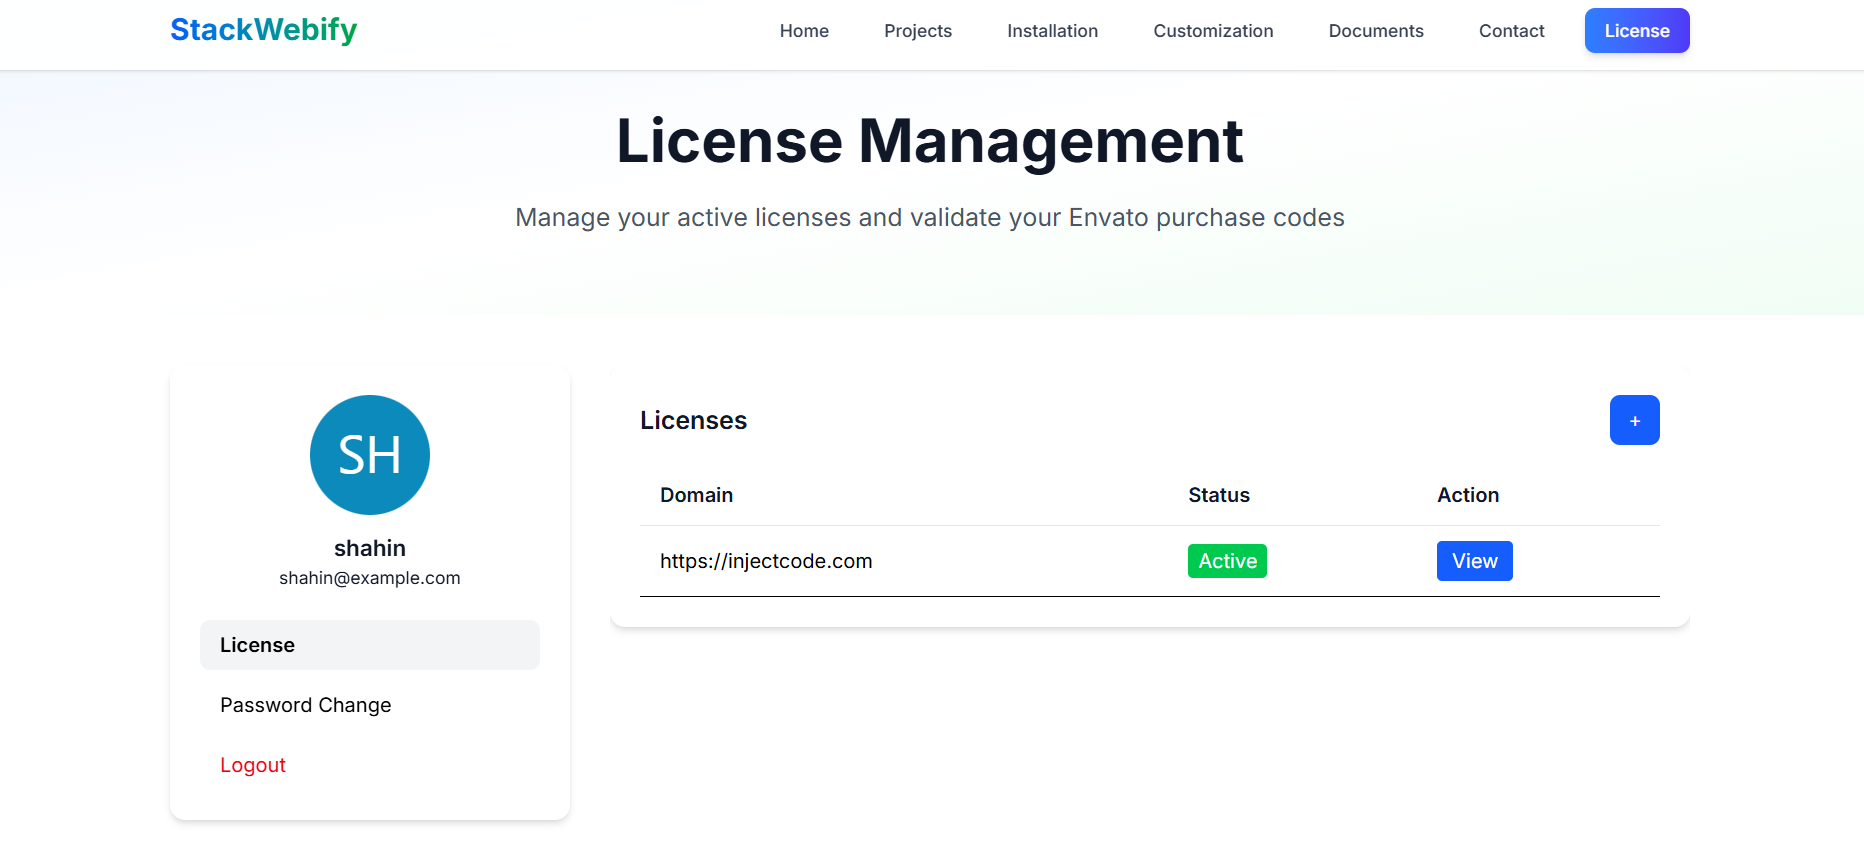
- Click on + icon
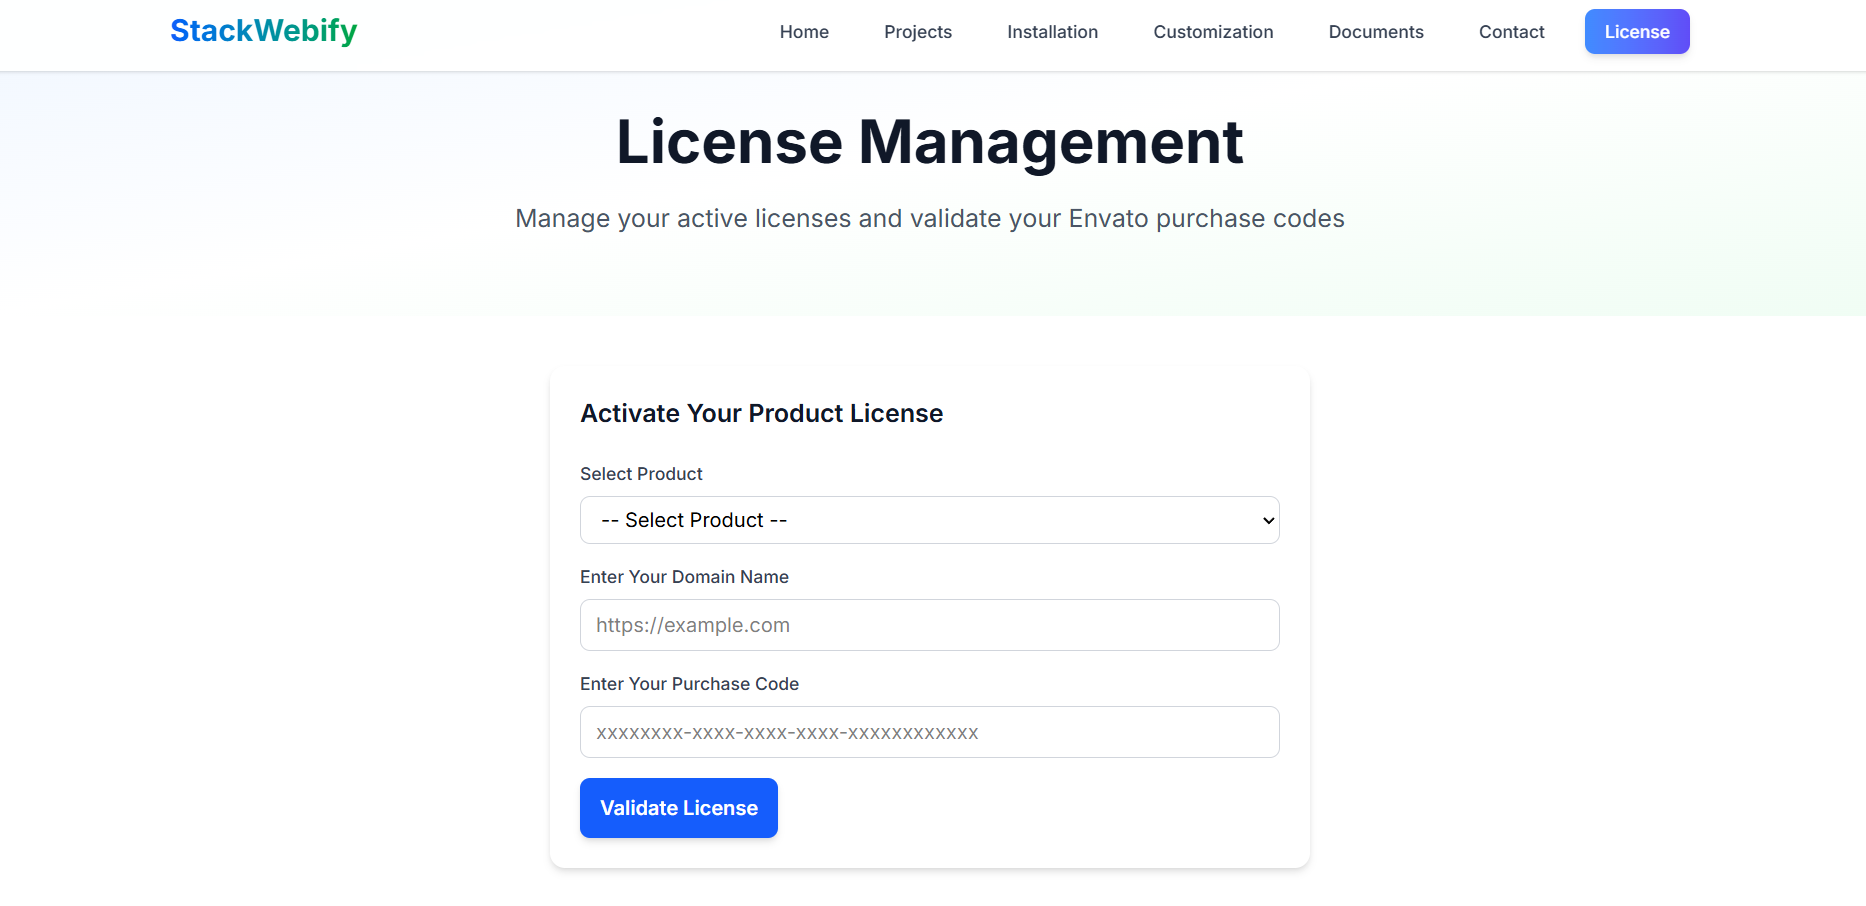
- Validate purchase key
- Select your product
- Enter your domain, Which domain you would be using this product
- Enter your envato purchase key
- Click on Validate License
- Click on View button
- Now copy your License key and install the product by this license

Installation
php.ini Requirements
For this script to run correctly, the open_basedir directive must be disabled.
In your php.ini file, update the setting as shown
below:
;open_basedir =(The semicolon ; disables the directive.)
Follow the steps below to setup the website
-
Unzip the downloaded package from CodeCanyon.
Inside the extracted files, open the/Source Codefolder and locateworkzen.zip.
Upload this file to your hosting server (via FTP or localhost) and unzip it in your desired location. -
Upload the script files.
Ensure all extracted files and folders are placed in your
server’s
root directory(public_html or equivalent). -
Set folder permissions.
Give the following folders
755permissions (recursively):/bootstrap/storage
- Create a database. Using phpMyAdmin (or your preferred tool), create a new database for the application.
-
Start the installation.
Open your browser and go to:
https://yourdomain.com/install/welcomeClick on the “Check Requirements” button. - requirements. - If all PHP extensions are installed → click “Continue”.
- permissions. - If folder permissions are correct → click “Continue”.
- license Provide the license key you obtained from Stackwebify, then → click “Validate & Continue”.
-
Site Info.
Enter the following details:
- Site name
- Application URL
-
database.
Enter the following details:
- Database Host
- Database Port
- Database Name
- Database Username
- Database Password
- Install. Then click “Install”.
-
Finish.
After setup, you’ll see default admin login details:
Email: admin@gmail.comPassword: 12345678Use these to log in to your dashboard. - 🎉 Congratulations! Your application is now installed successfully.
Google Analytics
-
Create a Google Cloud Project
- Go to Google Cloud Console.
- Click on “Select Project” → “New Project”.
- Name your project and click Create.
-
Enable the Google Analytics API
- In the Google Cloud Console, search for “Google Analytics Data API”.
- Select it and click Enable.
-
Create Service Account
- Navigate to APIs & Services → Credentials.
- Click “Create Credentials” → “Service account”.
- Give it a name (e.g., analytics-service), and click Done.
-
Generate a JSON Key
- Click on the created service account.
- Go to the “Keys” tab.
- Click “Add Key” → “Create new key”, select JSON, as the key type and click Create to download the JSON file..
-
Grant Access to GA4 Property
- Open Google Analytics.
- Go to Admin → Account Settings.
- Under Property, select the property you want to use.
- In Google Analytics, go to Admin → Property Settings → Property → Property access management.
- Add the service account email (from your JSON file) with Viewer role.
-
Get Your GA4 Property ID
- In Google Analytics, go to Admin → Property Settings → Property → Property details.
- Here you will be able to copy your PROPERTY ID
-
Get Your GA4 Measurement ID
- In Google Analytics, go to Admin → Property Settings → Data collection and modifications → Data streams→ Click on your stream .
-
Copy the MEASUREMENT ID (starts with
G-).
-
Update Your Dashboard Settings
- Login to your application.
- In the Settings menu, go to the Google Analytics section.
- Paste the copied Property ID into the input field labeled Property ID.
-
Paste the copied Measurement ID (e.g.,
G-XXXXXXXXXX) into the input field labeled Measurement ID. - Click the “Choose File” button and upload the Google Analytics JSON File file you downloaded earlier.
- Once all of fields are filled in (Property Id + Measurement ID + JSON file), click the “Create” button to save the credentials.
- After saving, toggle the “Google Analytics” switch at the top right of the section to activate tracking.
- You should see a success message confirming Google Analytics is enabled.
- You are done.
Settings
Within the admin panel, you’ll find a dedicated “Settings” section. This area allows you to configure key aspects of your website, including General settings, Mail settings, and Google Analytics integration.
Support
If this documentation doesn't answer your questions, So, Please send us Email via Item Support Page
We are located in UTC+03 time zone and we answer all questions within 12-24 hours in weekdays. In some rare cases the waiting time can be to 48 hours. (except holiday seasons which might take longer).
Don’t forget to Rate this template
Go to your Codecanyon Profile > Downloads Tab > & then You can Rate & Review for our template.
Thank You.
Changelog
Version 1.0 (1 September, 2025)
Initial Release